How to measure windows for drapes?
Preparation Phase And Some Tips
| People: 1-2 | Duration: Under 10mins |
Tools
- Tape Measure (Metal tape measure is best)
- Pencil and Paper (Poor handwriting is better than a good memory)
- Step Stool (Step ladder if needed)
Notes
- Start by measuring width (left to right) first then height (top to bottom).
- Measure to the nearest 1/8” accurately, and distinguish between height and width to avoid confusion.
- If you’re measuring for more than one window, don't be lazy, measure each separately, no shortcuts here, even if they seem like twins.
Step1: Set the drapery rod placement
The placement of your drapery rod will determine the length and aesthetic of your drapery.
Outside mount is the best choice for custom draperies. It ensures your drapes hang elegantly above and around the windows, making your space appear larger when they are closed and showcasing more of the window when they are open.
We recommend:
- Elevate the drapery rod 4 inches above the window for drapery that make the ceiling look taller.
- Add around 20% to the measured frame or casing width - it's a general industry rule of thumb. For example, measure width is 70 inches, drapery rod width should be 14 inches.
- Give curtains at least 3 inches of space on each side to open completely. Let the sunlight in.
Custom drapes situations may call for adjustments:
- Cathedral Ceilings: Hang your curtains 8 to 10 inches above the window frame for a taller feel, without being too high.
- Shorter Ceilings: Mount your curtains at the ceiling or, better yet, ceiling-mount them.
- Crown Molding at the Ceiling: Hang drapes just below the crown molding.
Step2: Choose drapery rods vs tracks
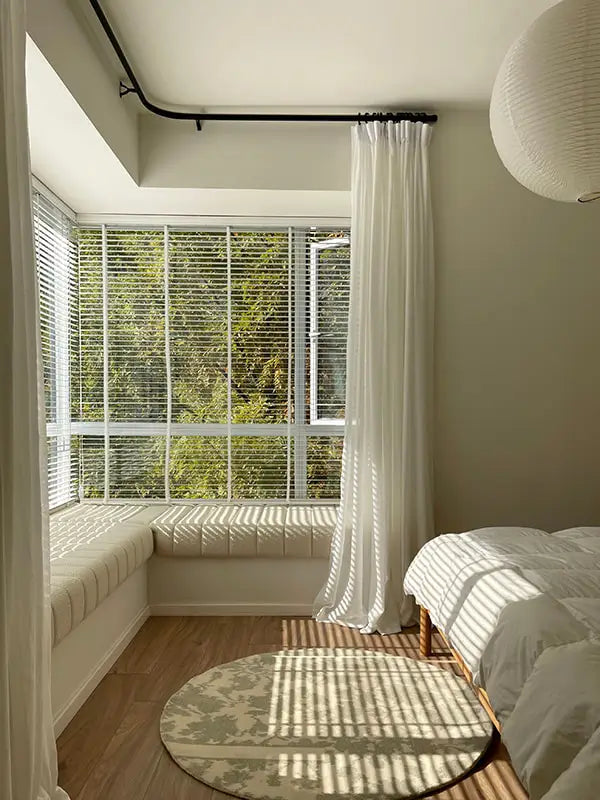
You can install curtains inside the window frame (Inside mount) or outside the window frame (Outside mount). Additionally, for outdoor installation applications (popular option for drapery installation), curtain rods can be wall or ceiling mounted.
If you opt for an outside mount application, two choices await you:
- Wall Mount: Wall mount works great if you've got fancy crown molding or you're living it up with cathedral ceilings.
- Ceiling Mount: Ceiling mount is a swell option for shorter ceilings, giving your wall a boost in height illusion.
Step3: Determine the width
Select the perfect width for your panels when ordering. You've got two option: Single Panel or Pair Pack Panels.
Grasping Fullness: It’s key to understand that your custom drapes will be crafted at 2 times to 3 times fullness, which involves the extra fabric in the mix. For instance, when you ask for a width of 48”, your drapes will be created with at least 96” of fabric, then pleated down for that 48” width. This adds flair to the drapery and prevents it from falling flat when closed. Consider sizing down if you fear a fabric overload.
Side Panel: Side panels are mostly for decoration, and offer limited privacy. This style isn't about closing all the way, instead hanging at the sides of the window. To measure for side panel width, just measure the width needed for the panels to cover, and order that exact width. For example, if you need it to cover 48 inches, the single panel size is 48 inches. Single panels can shrink down to save space when needed.
Pair Pack Panels: For full coverage, slap on enough panels to cloak the whole window. Here’s how to measure:
- Measure the window opening width from outside edge to outside edge of the frame.
- Increase by at least 4" on each side (total 8")
- Measure width plus the added width on each side divide by the number of panels. Example: To cover a 96" window with pair pack panels, you would add 96" (your measured width) to 8"(Increase by 4" on each side) and divide by 2 (pair pack panels) to get 52". Ordered each panel need to be 52" or wider.
Step4: Determine the length
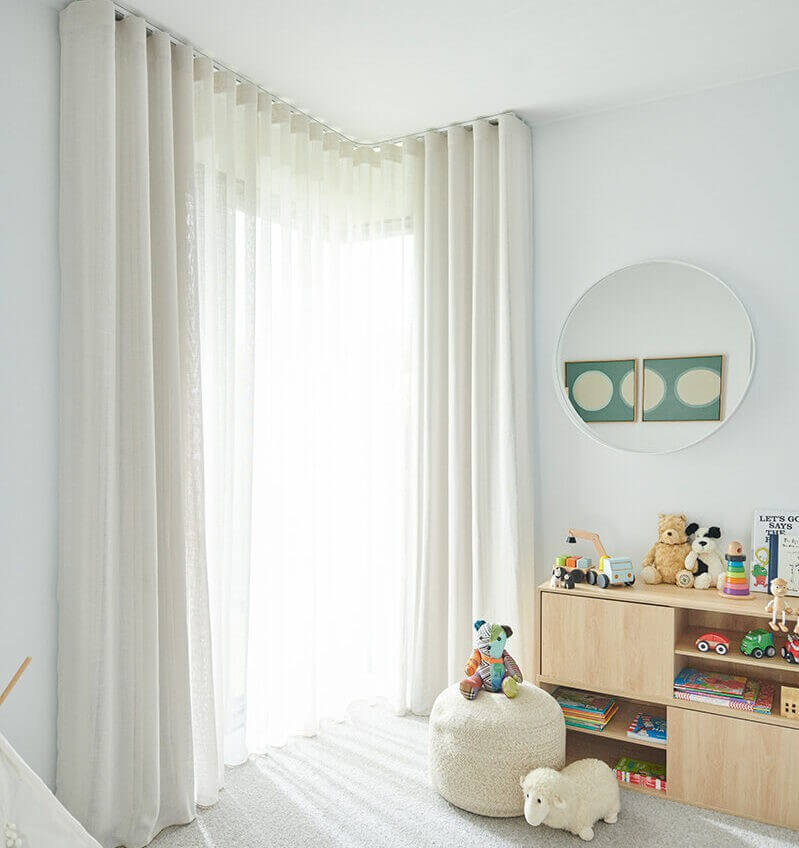
Once you've settled on the height of your drapery rods, it's time to figure out how far draperies should dangle. Opting for floor-length curtains can help play up the height of your ceiling while giving the impression of lower ceilings and taller windows.
- Float: About 1" above the floor. If you'd like to these curtains to hang without any interruptions, opt for floating. They will almost touch the floor.
- Break: Just skims the floor. It's tricky to pull off as it needs precise measurements from the pole.
- Puddle: Boost your curtain’s float length by 3" to 6". Those opting for premium fabric like linen or velvet can reap the rewards.
Final tips
Here are a few final tips to keep in mind when measuring for curtains:
- Always double-check your measurements to avoid any mistakes.
- If you are unsure, consult a professional or refer to the manufacturer's guidelines.
- Consider the fabric's pattern and design when measuring to ensure the pattern is centered and aligned.
- Keep in mind any obstructions such as radiators or furniture that may affect the curtain length.
By following these steps and taking accurate measurements, you can confidently choose the right curtains for your windows. Remember, when it comes to curtains, precision is key for a polished and stylish look.


